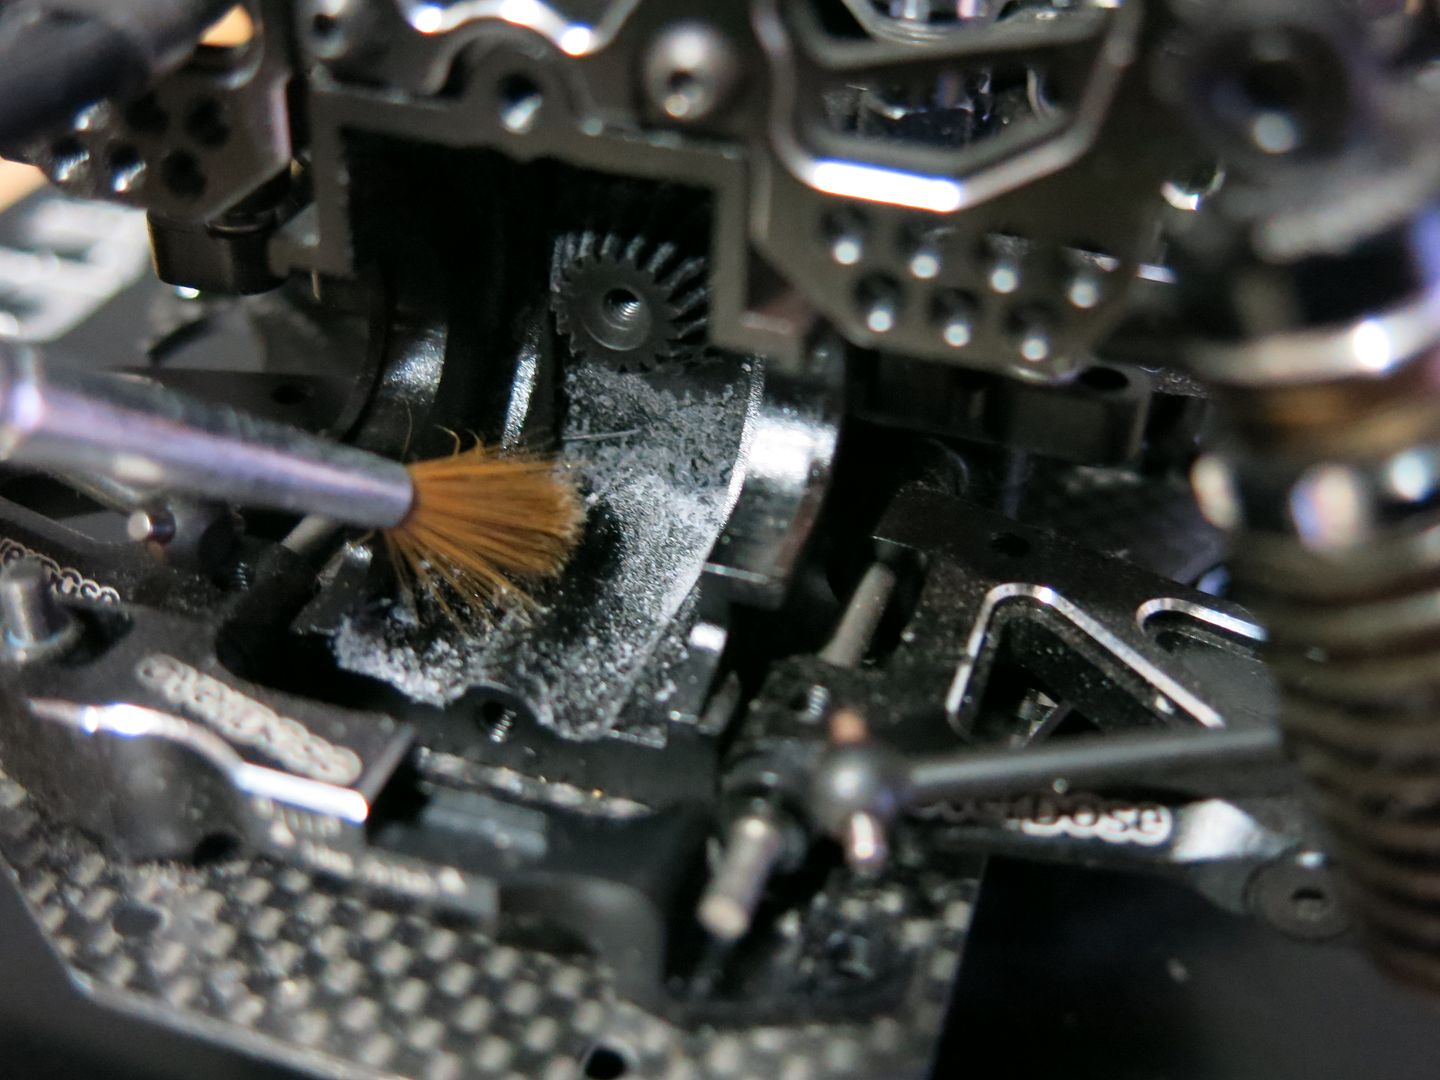
For example, MST is a very popular wheel choice amongst drift enthusiasts, so I bought a set of their Kairos wheels. Within a week or two, I had already destroyed the central hub. The damage was not from running into walls, crashing, or bad driving, it was simply from ripping the e-brake, and getting straight onto the throttle while trying to control proximity.


Another wheel manufacturer I really like is Mikuni. I have a pretty big collection of Mikuni wheels, simply because I think they make some of the best looking wheels out there. They just fit that "street" look so well. The only problem is, I had the same problem with Mikuni wheels, as I did with MST. While the Mikuni set lasted longer than MST, they still shred at the hub... this was slowly becoming a problem.

So, when I was given a set of the Team Tetsujin Super Rims, I had some doubts. First lets take a look at the wheels themselves. Unlike your conventional one piece rim, the Team Tetsujin Super rims have incorporated a two piece, offset adjustable design. By Tetsujins own claims, this revolutionary new design improves the strength over traditional one piece rims by 150%. This is because you basically have the disk of the inner faces reinforcing the outer barrel. Admittedly I've had some hard knocks with these wheels, and they've withstood some serious abuse. I don't doubt their rigidity claims one bit.


One of my main concerns with the two piece wheel design was the little clips of the wheel faces that lock into the outer barrel. There are only 3 clipping points, so I thought that they would be a weak point, and that over time they would easily snap during e-brake to full throttle sequences. Man was I wrong. Team Tetsujin are no slouches when it comes to plastics manufacturing, as demonstrated by their track kerbs systems for RC drift, which is one of the best... in the world. Make sure you read that "in the world" part with a Jeremy Clarkson accent, I assure you it sounds 100x better. It's no different when it comes to their rims either, they are an absolute top quality product. Those small clips may look like a weak point, but I assure you they pack some serious strength. That strength actually comes from those small square blocks protruding from the wheel disk, which slot into their own grooves along the main barrel. They soak up all the abuse when it comes to aggressive driving, alleviating any stress that might have otherwise gone straight to the clips.


Even the hubs show no signs of wear after countless hours of abuse. This is the one point on other wheels that have failed on me time and time again. The only wheels I have yet to have any problems with are these Team Tetsujin Super Rims, and Overdose rims.

So, I'm going to say it's safe to say that quality and strength is not an issue when it comes to these rims. They've withstood everything I have thrown at them, and show no signs of slowing down. The best part is that the rims offer adjustable offsets! The Team Tetsujin Super Rims can be made to run at 3, 6, and 9mm offsets, and they have recently just released some that can run at 2, 5, and 8mm offsets I believe. So, not only is this an extremely high quality product, it is also very practical... you can play around with offsets using one set of rims instead of buying 2 or 3 different pairs of wheels to determine which offset works best. Here's a look at the adjustable offsets:
3mm

6mm

9mm

They also offer a variety of colours too as seen below. Not only that, but they are made to be painted allowing you to create your own custom set of wheels. The options are endless when it comes to these. Expect more new face designs to keep hitting the market as well, so far they have 4 available, and are continuously working on more designs. I can't wait to see what they come out with. (Photo Credit goes to Team Tetsujin Drift Lounge)


While I was sceptical at first, time has erased any doubts I had about the Team Tetsujin Super Rims. I love these wheels, and plan on collecting some more ^^b I should add that these will not fit with a set of brake calipers though, just an FYI for those of you that live for scale detail.
Overall though, I still give these a 10/10 rating! Strong, offset adjustable, customizable, and overall just an absolutely great product by Team Tetsujin!
Overall though, I still give these a 10/10 rating! Strong, offset adjustable, customizable, and overall just an absolutely great product by Team Tetsujin!